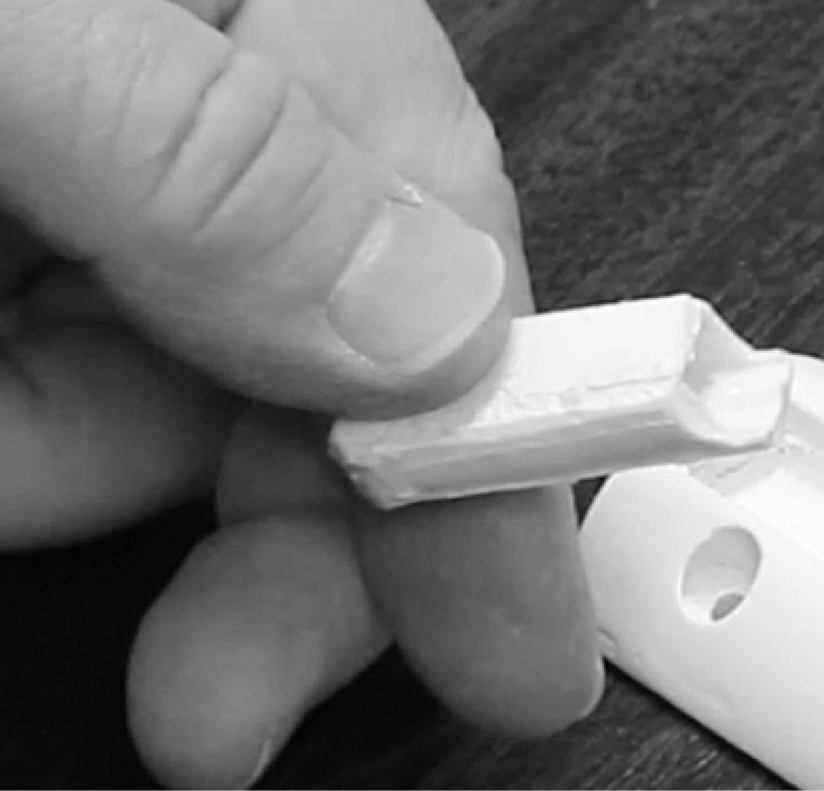
Sealed Switch

You may wonder why one would want to make a switch when there are so many available on the market.
Well there are some special cases when you actually may want one, say you need a switch that fit within certain dimensions or have a specific shape or need a waterproof sealed switch.
When I made a steam blower for cleaning or just blowing a stream of steam, I realized that the switch had not to be only waterproof but also steam proof, in other words, perfectly sealed, and as long as the switch can be s simple push button it is not too difficult to make one.
So I share with you here how I've made mine, which method succeeded and what failed.
⚠ Caution. If the switch is subject to mains voltage, which in Europe is 650V peak to peak from ground, the switch must be safe for an isolation voltage of almost 1000V.
To withstand these requirements almost a millimeter (or 39 thousands inch) of good insulator must be used.

Silicone caulk, also known as silicone rubber, is flexible and, provided it is of a good quality it is also heat
resistant (typically withstands 150C or 302F), and a very good insulator (around 22KV per millimeter).
As a sealant it is mildly effective, as it has the tendency to absorb water over time. This would happen if the switch were
continuously immersed in water, but for an application where water would be present for limited time, it doesn't pose any
problem.
My first try was a sleeve made of cotton fabric spread with silicone rubber, wrapped around a die made of wax. The result was a pretty strong product but too thick and bad shaped to be useful for the job. Well that idea can be re-purposed for other kind of applications, such as making a protection sleeve for a tool machine.

The second attempt led to something usable. To make the contacts I've cut a couple of stripes from a brass shim. Brass is a good solution because of its flexibility, good electrical conductibility, and self passivation that limit corrosion.
The point of contact can be optionally coated with tin to reduce the wear caused by sparks and oxidation. Also, as an alternative source for contacts a relay can be always cannibalized.

From a 0.2 mm shim foil made of brass I've cut to measure the contact leads and spring, and the end spring is wrapped to
increase the flexibility at the point of contact.
After soldering the terminal wires, the contacts are glued with epoxy around a substrate cut from a copper clad boar, I
used a PCB scrap for this job. A second sheet is glued on top as a further layer of insulation and to make it more
wear-resistant.
After the epoxy is hardened a quick intermediate test assure us that it's working.
The assembled parts has been wrapped with a layer from the left over of cotton fabric coated with thinned neoprene based glue to make it air and vapour tight, and kept in place with a drop of glue. This layer of fabric is to prevent the silicone rubber to penetrate inside the switch, and prevent the gases released by the caulk while it's curing to attack the copper. Also it creates a vapour barrier because, while silicon rubber is impermeable for liquid water, still it lets gaseous water to pass through over time.
The side where wires stem from can be sealed with non-acidic silicone rubber.
Next step is to prepare a die cast to mold the silicone rubber with the desired shape of the final push button. I chose
wax even though it's a messy material. The switch is pushed into the die cast filled with silicone rubber, and let to cure
for 24 hours.
After the silicone rubber has cured, the wax can be melted off to extract the almost finished product, and a final bath
in hot water is used to get rid from the last residues of wax.
The silicone rubber excess can be easily trimmed off with a scissor and a final test confirms that the switch is operating properly. A last piece of PCB is cut and painted to make the button's cap.
The cap is glued with silicone rubber on top of the push button, the final touch for the finished product.
Wath the video for more.

Don't miss next post
Subscribe to stay up to date when new articles, videos or other contents are available.
RELATED ARTICLES
RECENT ARTICLES


 Subscribe
![Validate my Atom 1.0 feed [Valid Atom 1.0]](../valid-atom.png)